
Stable Diffusion Locally-Beginner's First Step with AUTOMATIC1111
Beginner guide to Stable Diffusion and use locally or your own way. Cover AUTOMATIC1111 and a few image generation models, including Stable Diffusion 2.1, Inkpunk, and Anything models.

Text-to-image generation by Generative AI is definitely a powerful tool to boost human’s creativity. In this post, we will show you how to set up text-to-image generation tools in your own environment (i.e. laptops or servers).
We will use publicly available and open-source tools. Nonetheless, you should pay special attention to licenses of these tools if you were to use for commercial purposes. More specifically, we will cover the Stable Diffusion models (like SD2.1 and SD3 Medium), Anything v3 model, Inkpunk model, and AUTOMATIC1111 UI.
AUTOMATIC1111 Setup
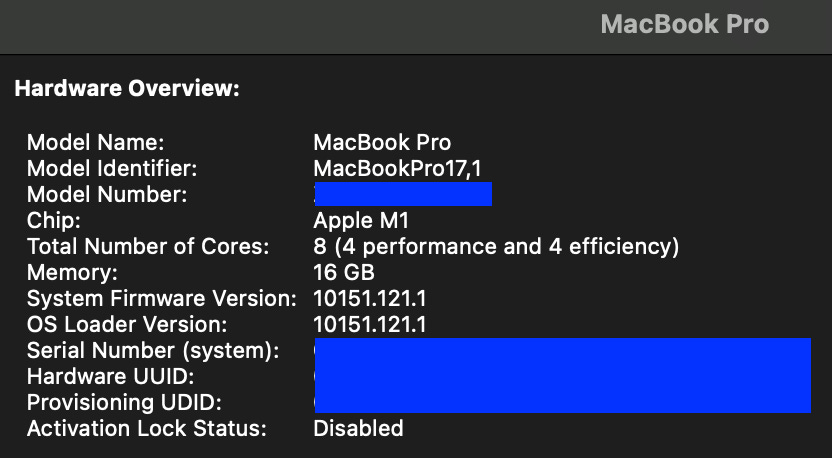
We will guide you quickly through how to install AUTOMATIC1111, at least specific to a M1 Apple Silicon MacBook Pro that we have. *Installation on GCP is at the last section.
AUTOMATIC1111
AUTOMATIC1111 has a great UI interface that is quite beginner friendly. This page outlines features and how to use them.
Installation
The actual installation guide can be found from AUTOMATIC1111’s gtihub repo. A specific installation for Apple Silicon is here.
Create a python environment with python version 3.10.6. Assuming that you use conda in Terminal, this will be
conda create -n stablediff python=3.10.6Once created, you will activate this environment with
conda activate stablediffClone the git repo
git clone https://github.com/AUTOMATIC1111/stable-diffusion-webui.gitThis will result in a folder with a name:
stable-diffusion-webuiDownload models you want to use, along with any configuration files. Put them in the right folders inside this folder:
stable-diffusion-webui/models/Stable-diffusionStable Diffusizon 2.1 (v2-1_768-ema-pruned.ckpt).

For this model, we need a configuration file (download here). Rename and put them correctly: e.g. for the
v2-1_768-ema-pruned.ckptmodel, rename the config file tov2-1_768-ema-pruned.yamland put BOTH instable-diffusion-webui/models/Stable-diffusion.
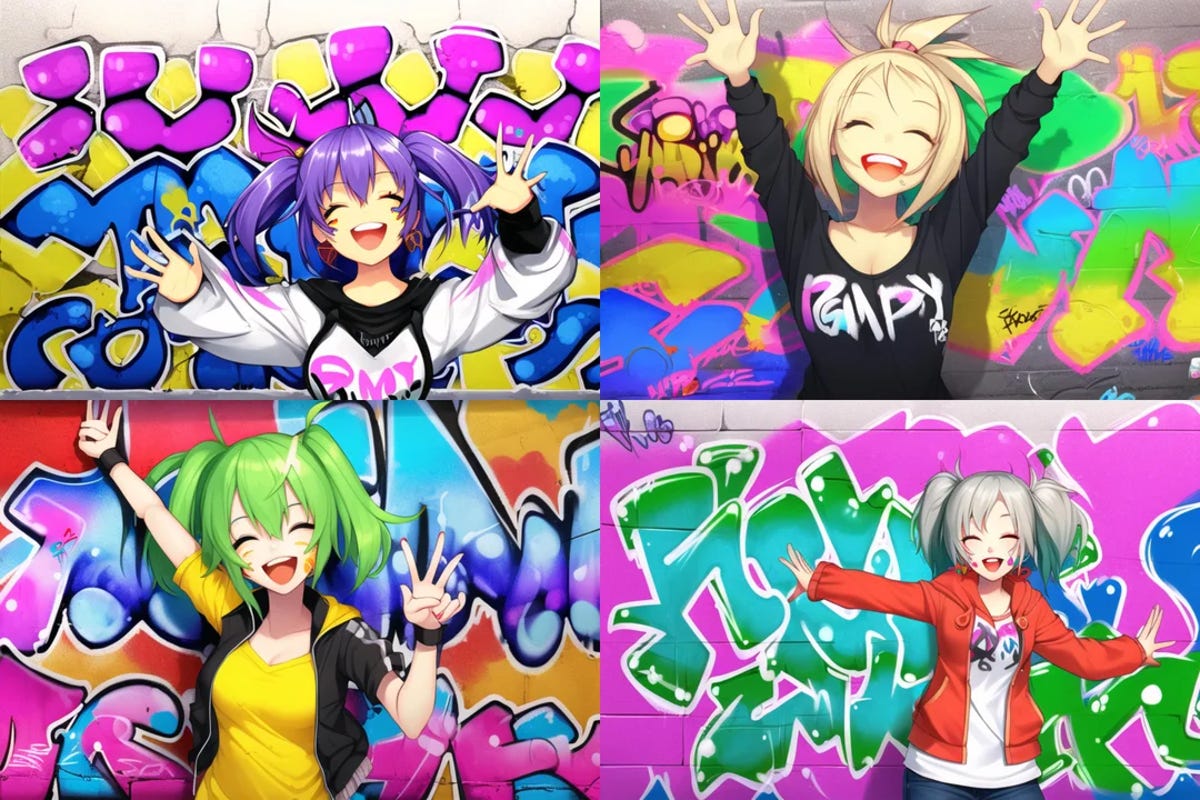
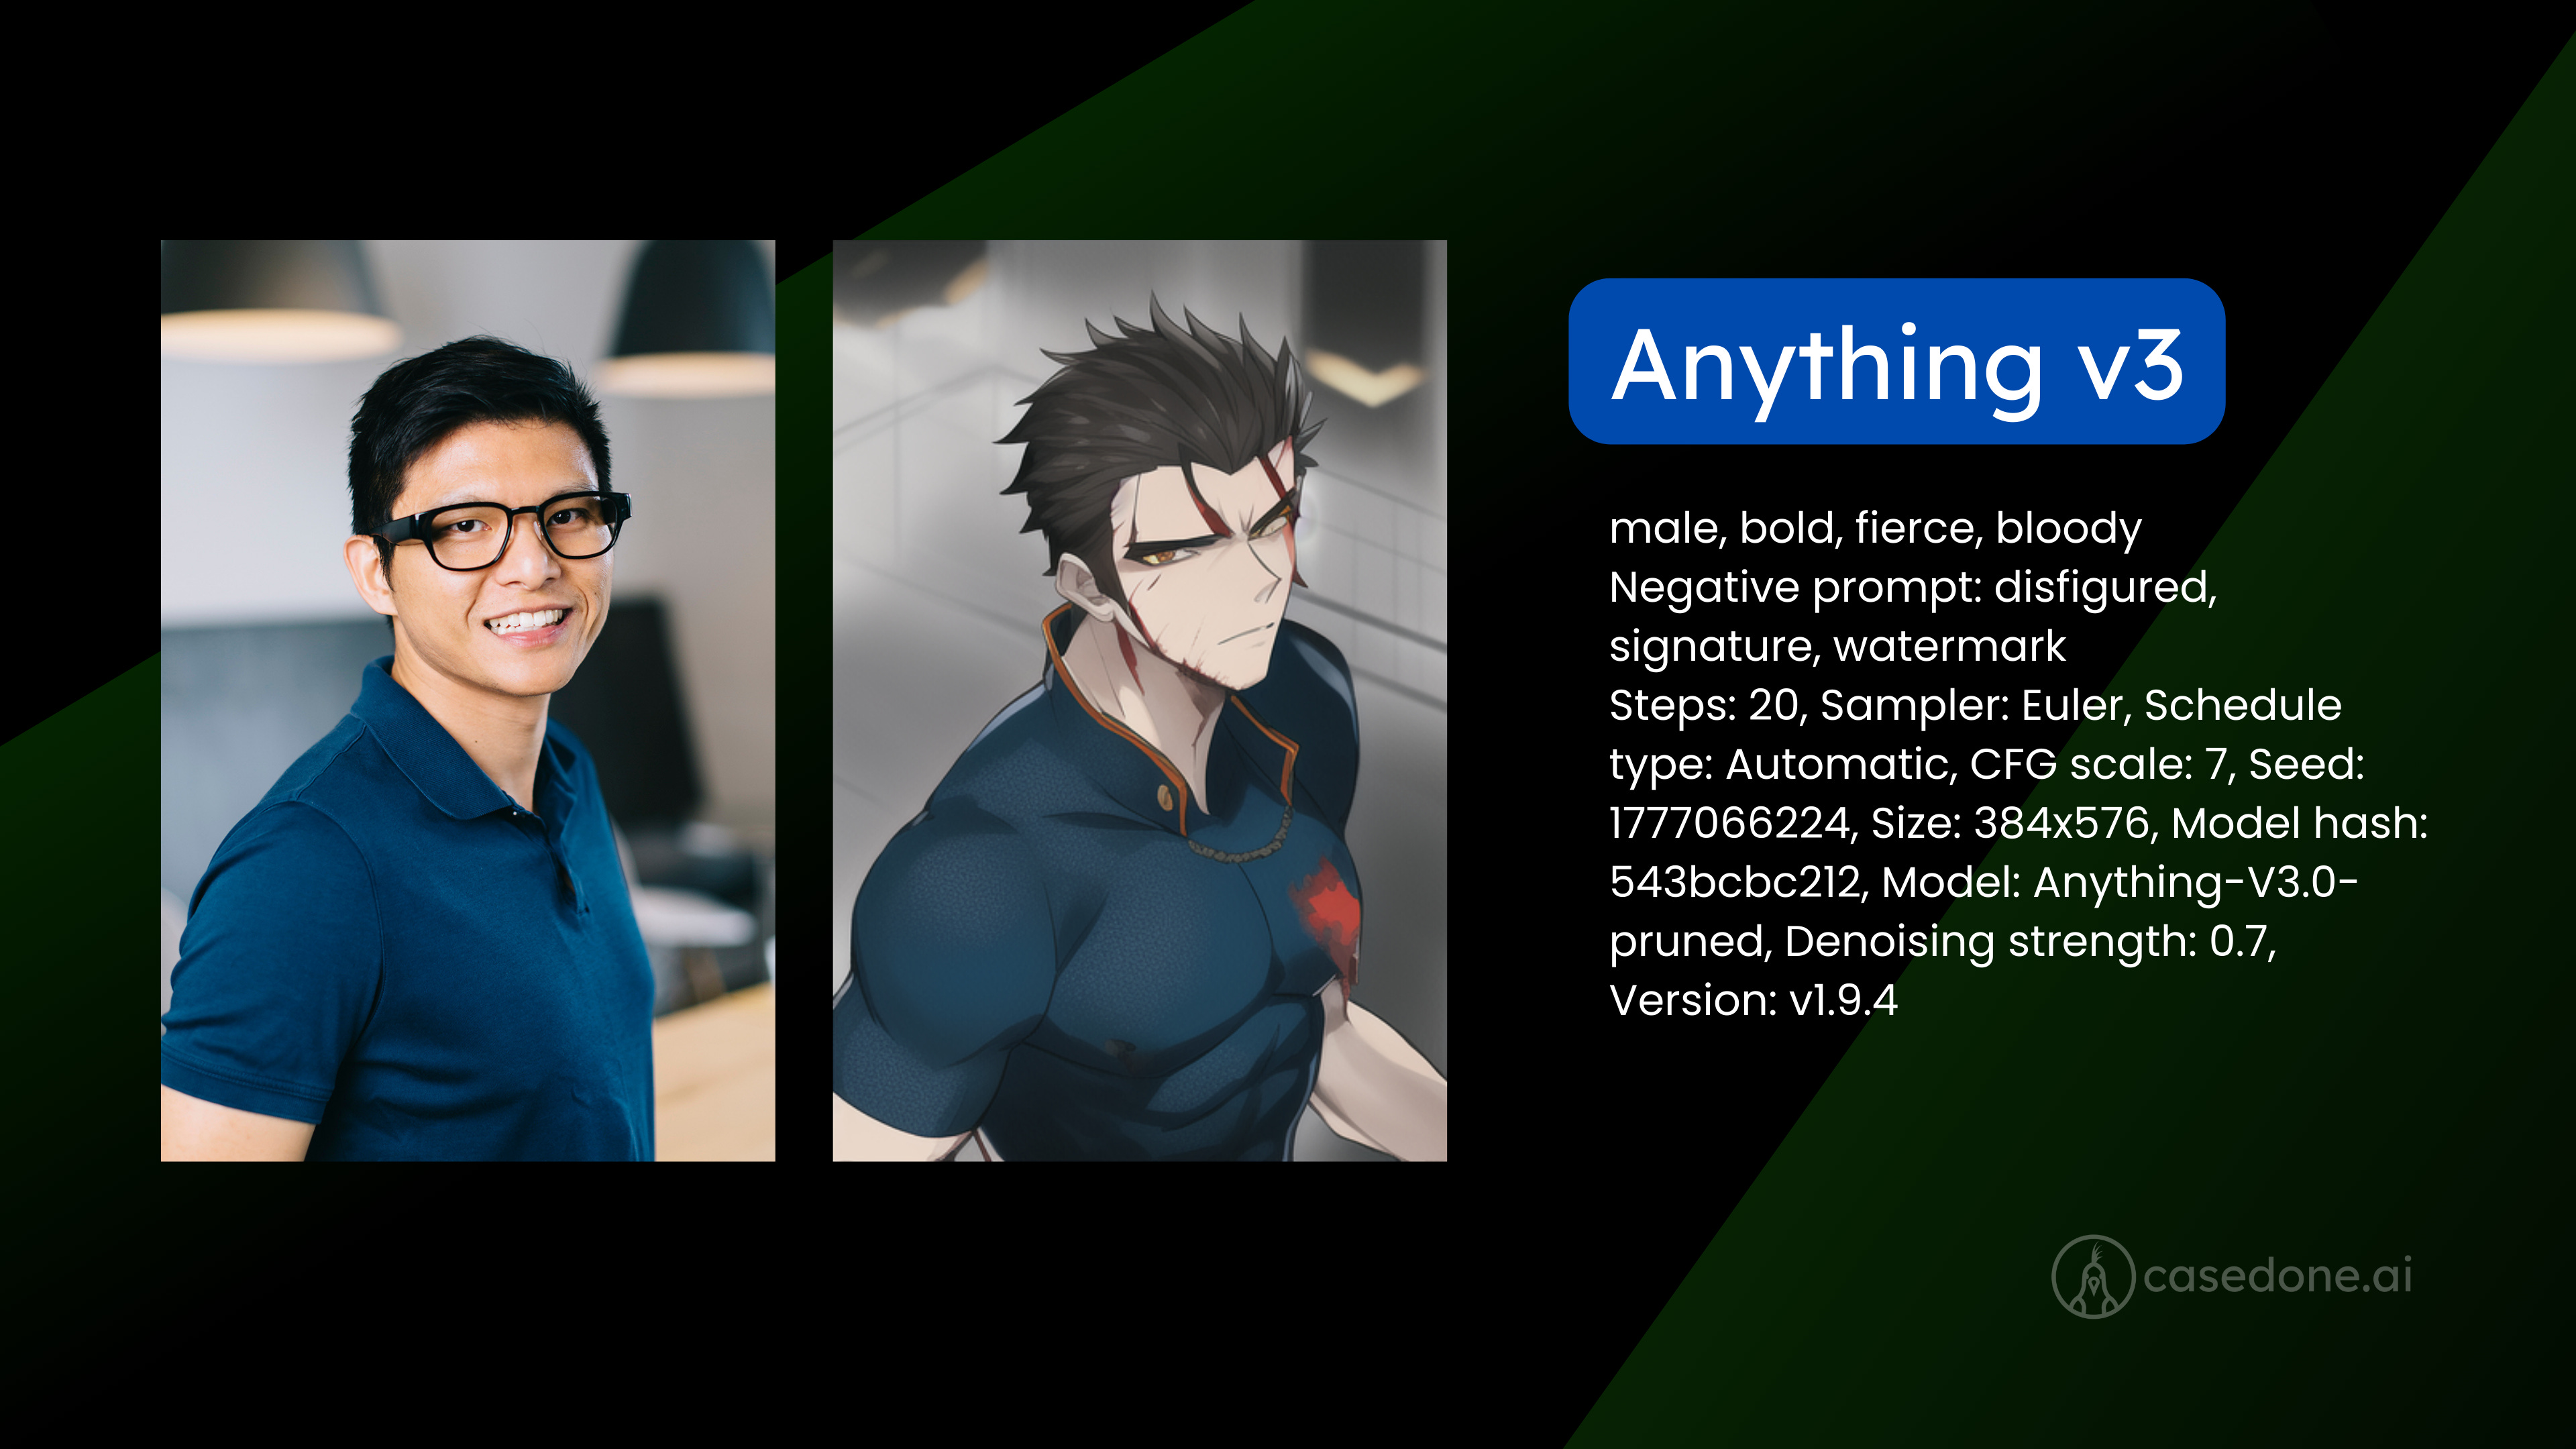
Style an image to anime. In a text prompt, you can include ‘danbooru’ tags to specify what you want.

Download from HuggingFace here: Anything-V3.0-pruned.ckpt (or quantized version like fp16)
Note that Anything v5 is now available here, here, here, and here (civitai).
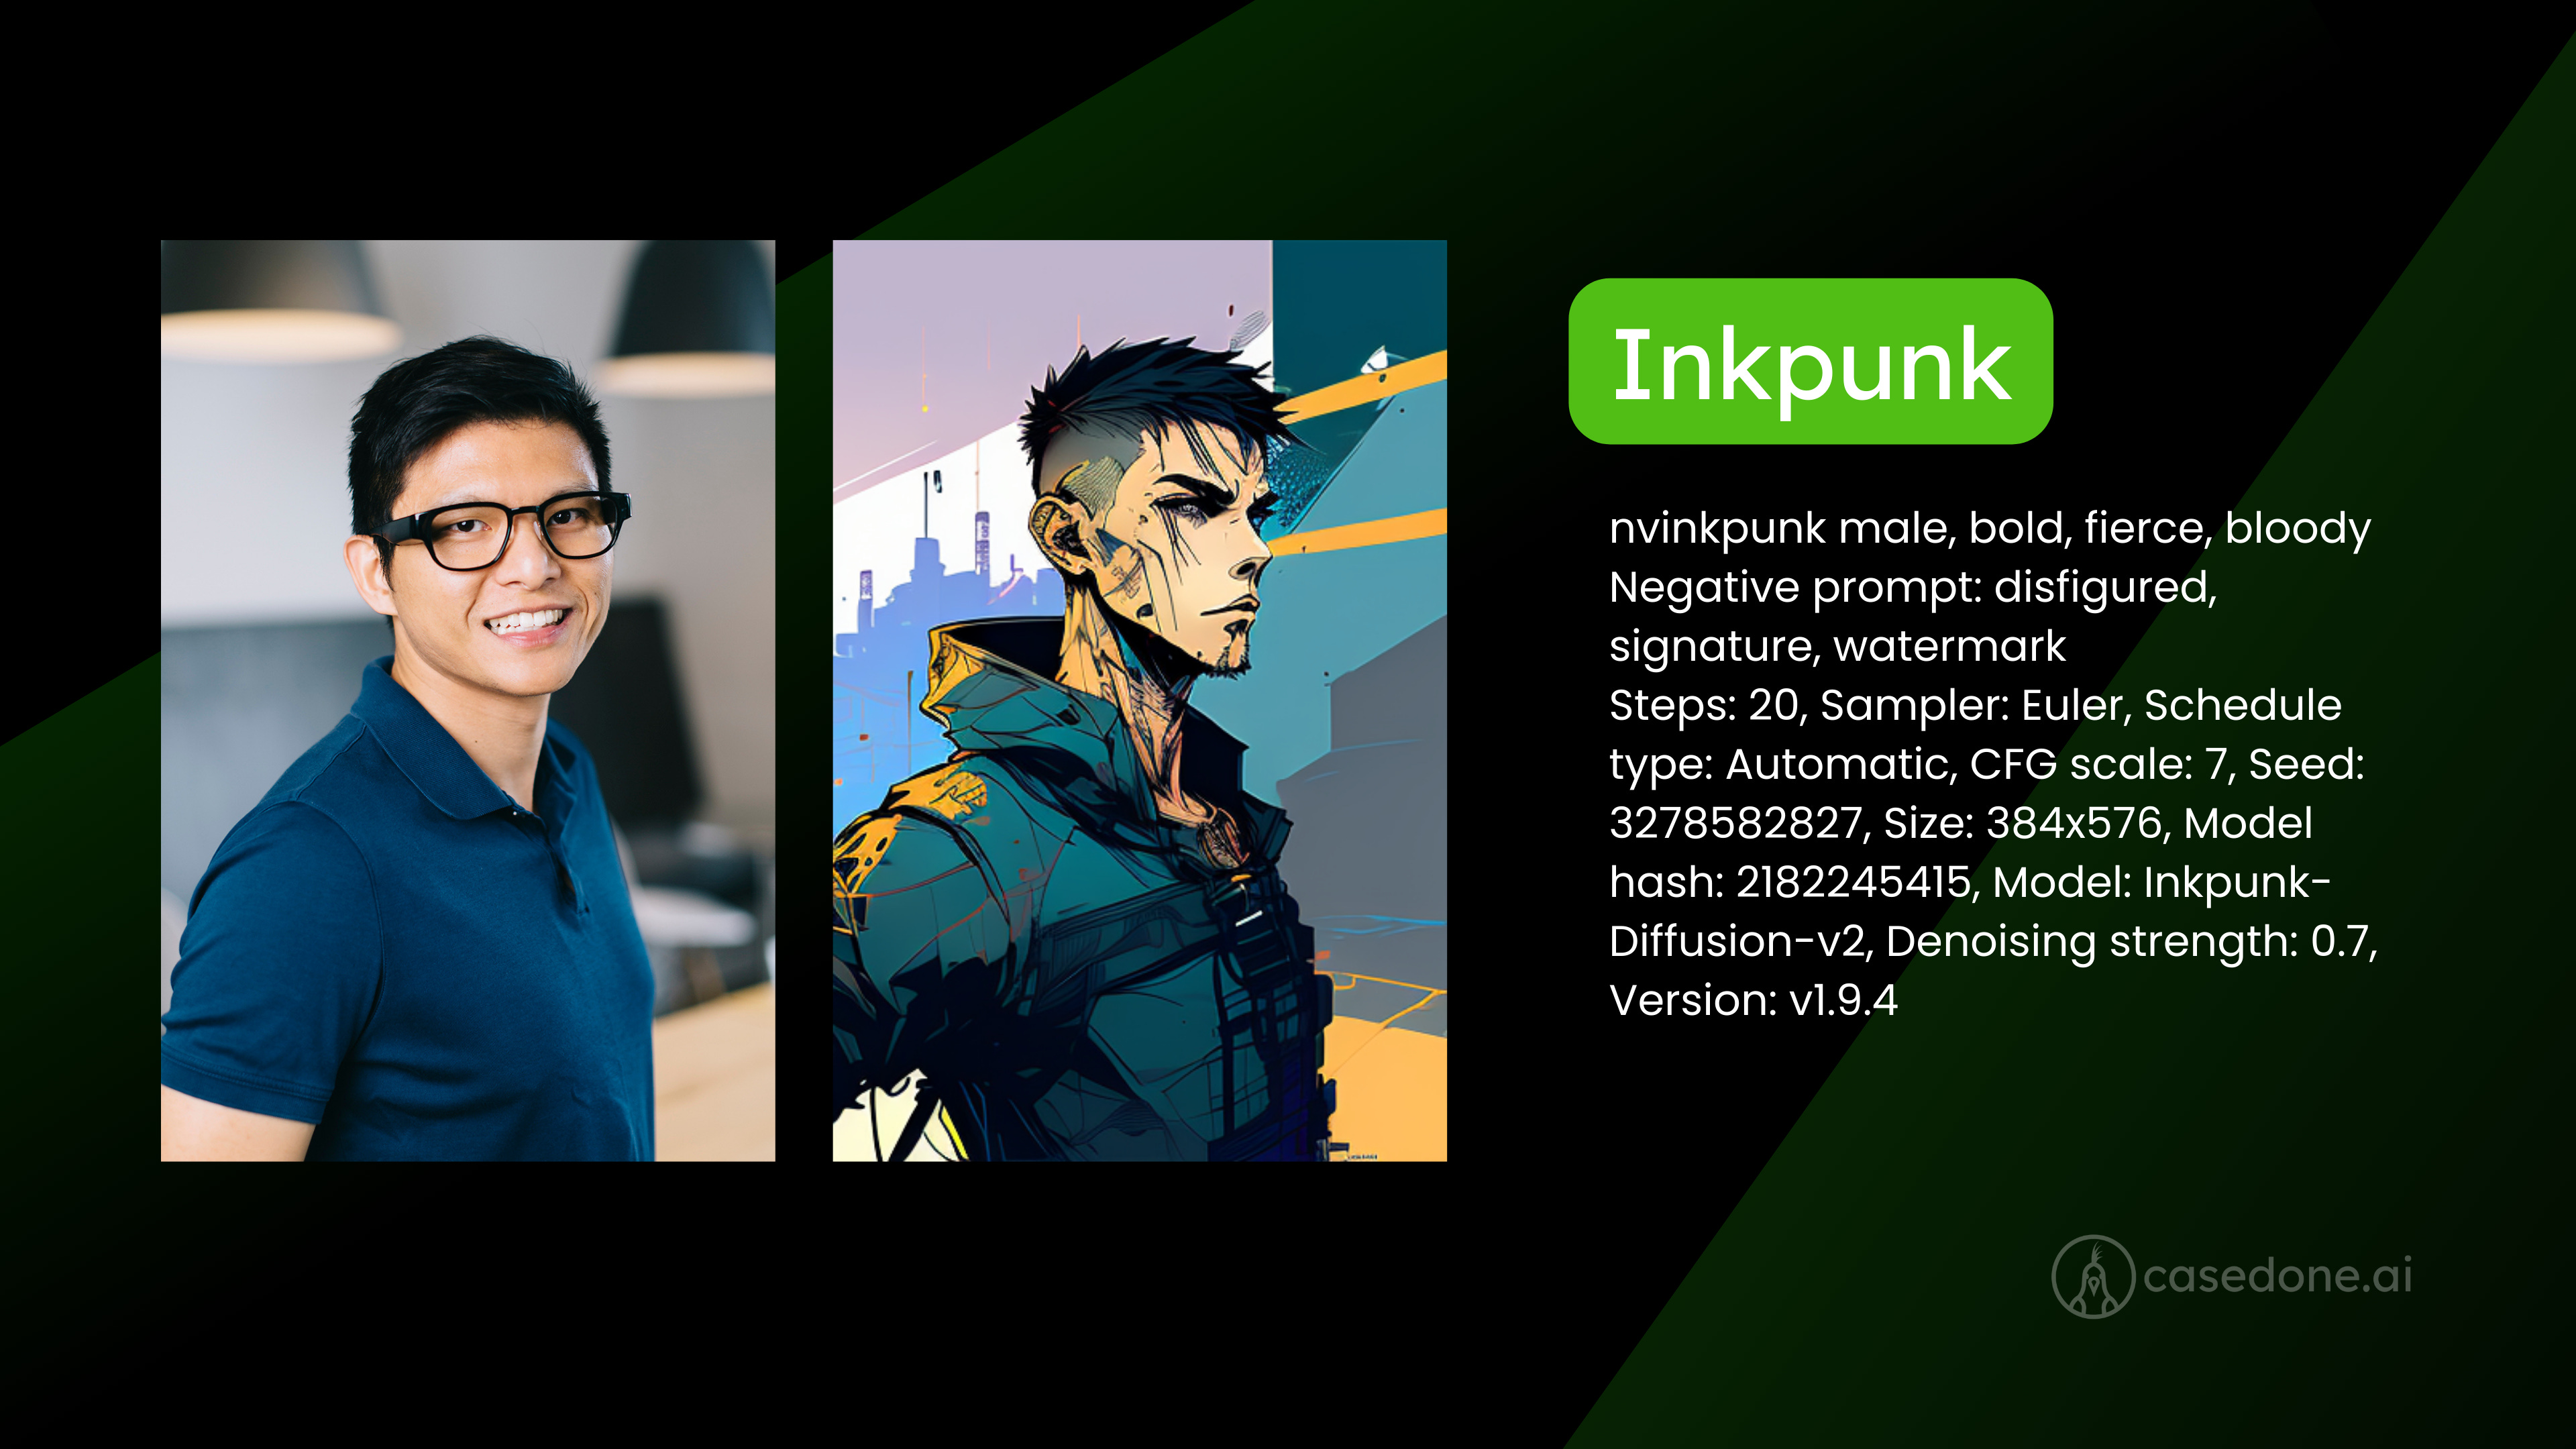
Style an image to a cyber punk style.
To use it, the prompt must start with a keyword nvinkpunk
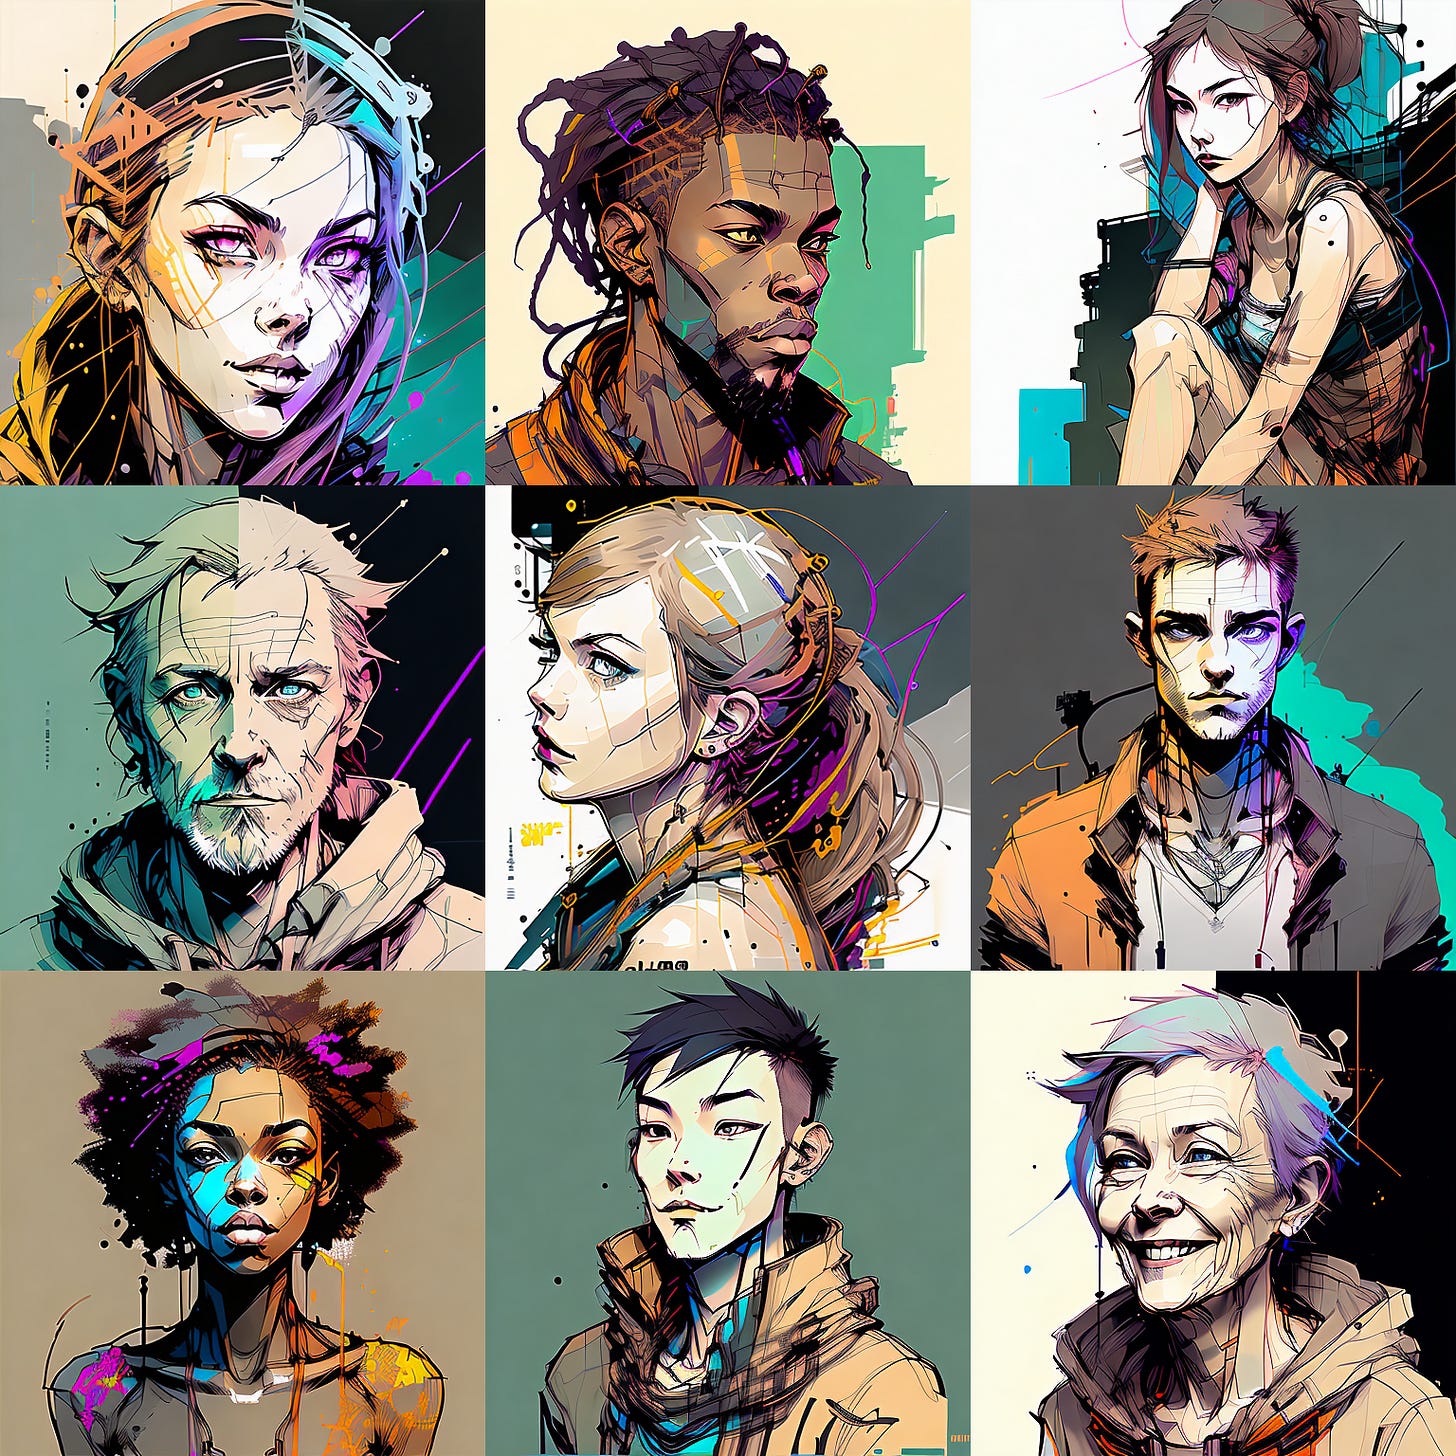
Download from HuggingFace here: Inkpunk-Diffusion-v2.ckpt
Run the script to start the UI with this code to the command line
./webui.sh


Below is the image showing how to run it (assuming that you have finished the installation and downloading the models).
conda activate stablediff
cd path/to/stable-diffusion-webui
./webui.sh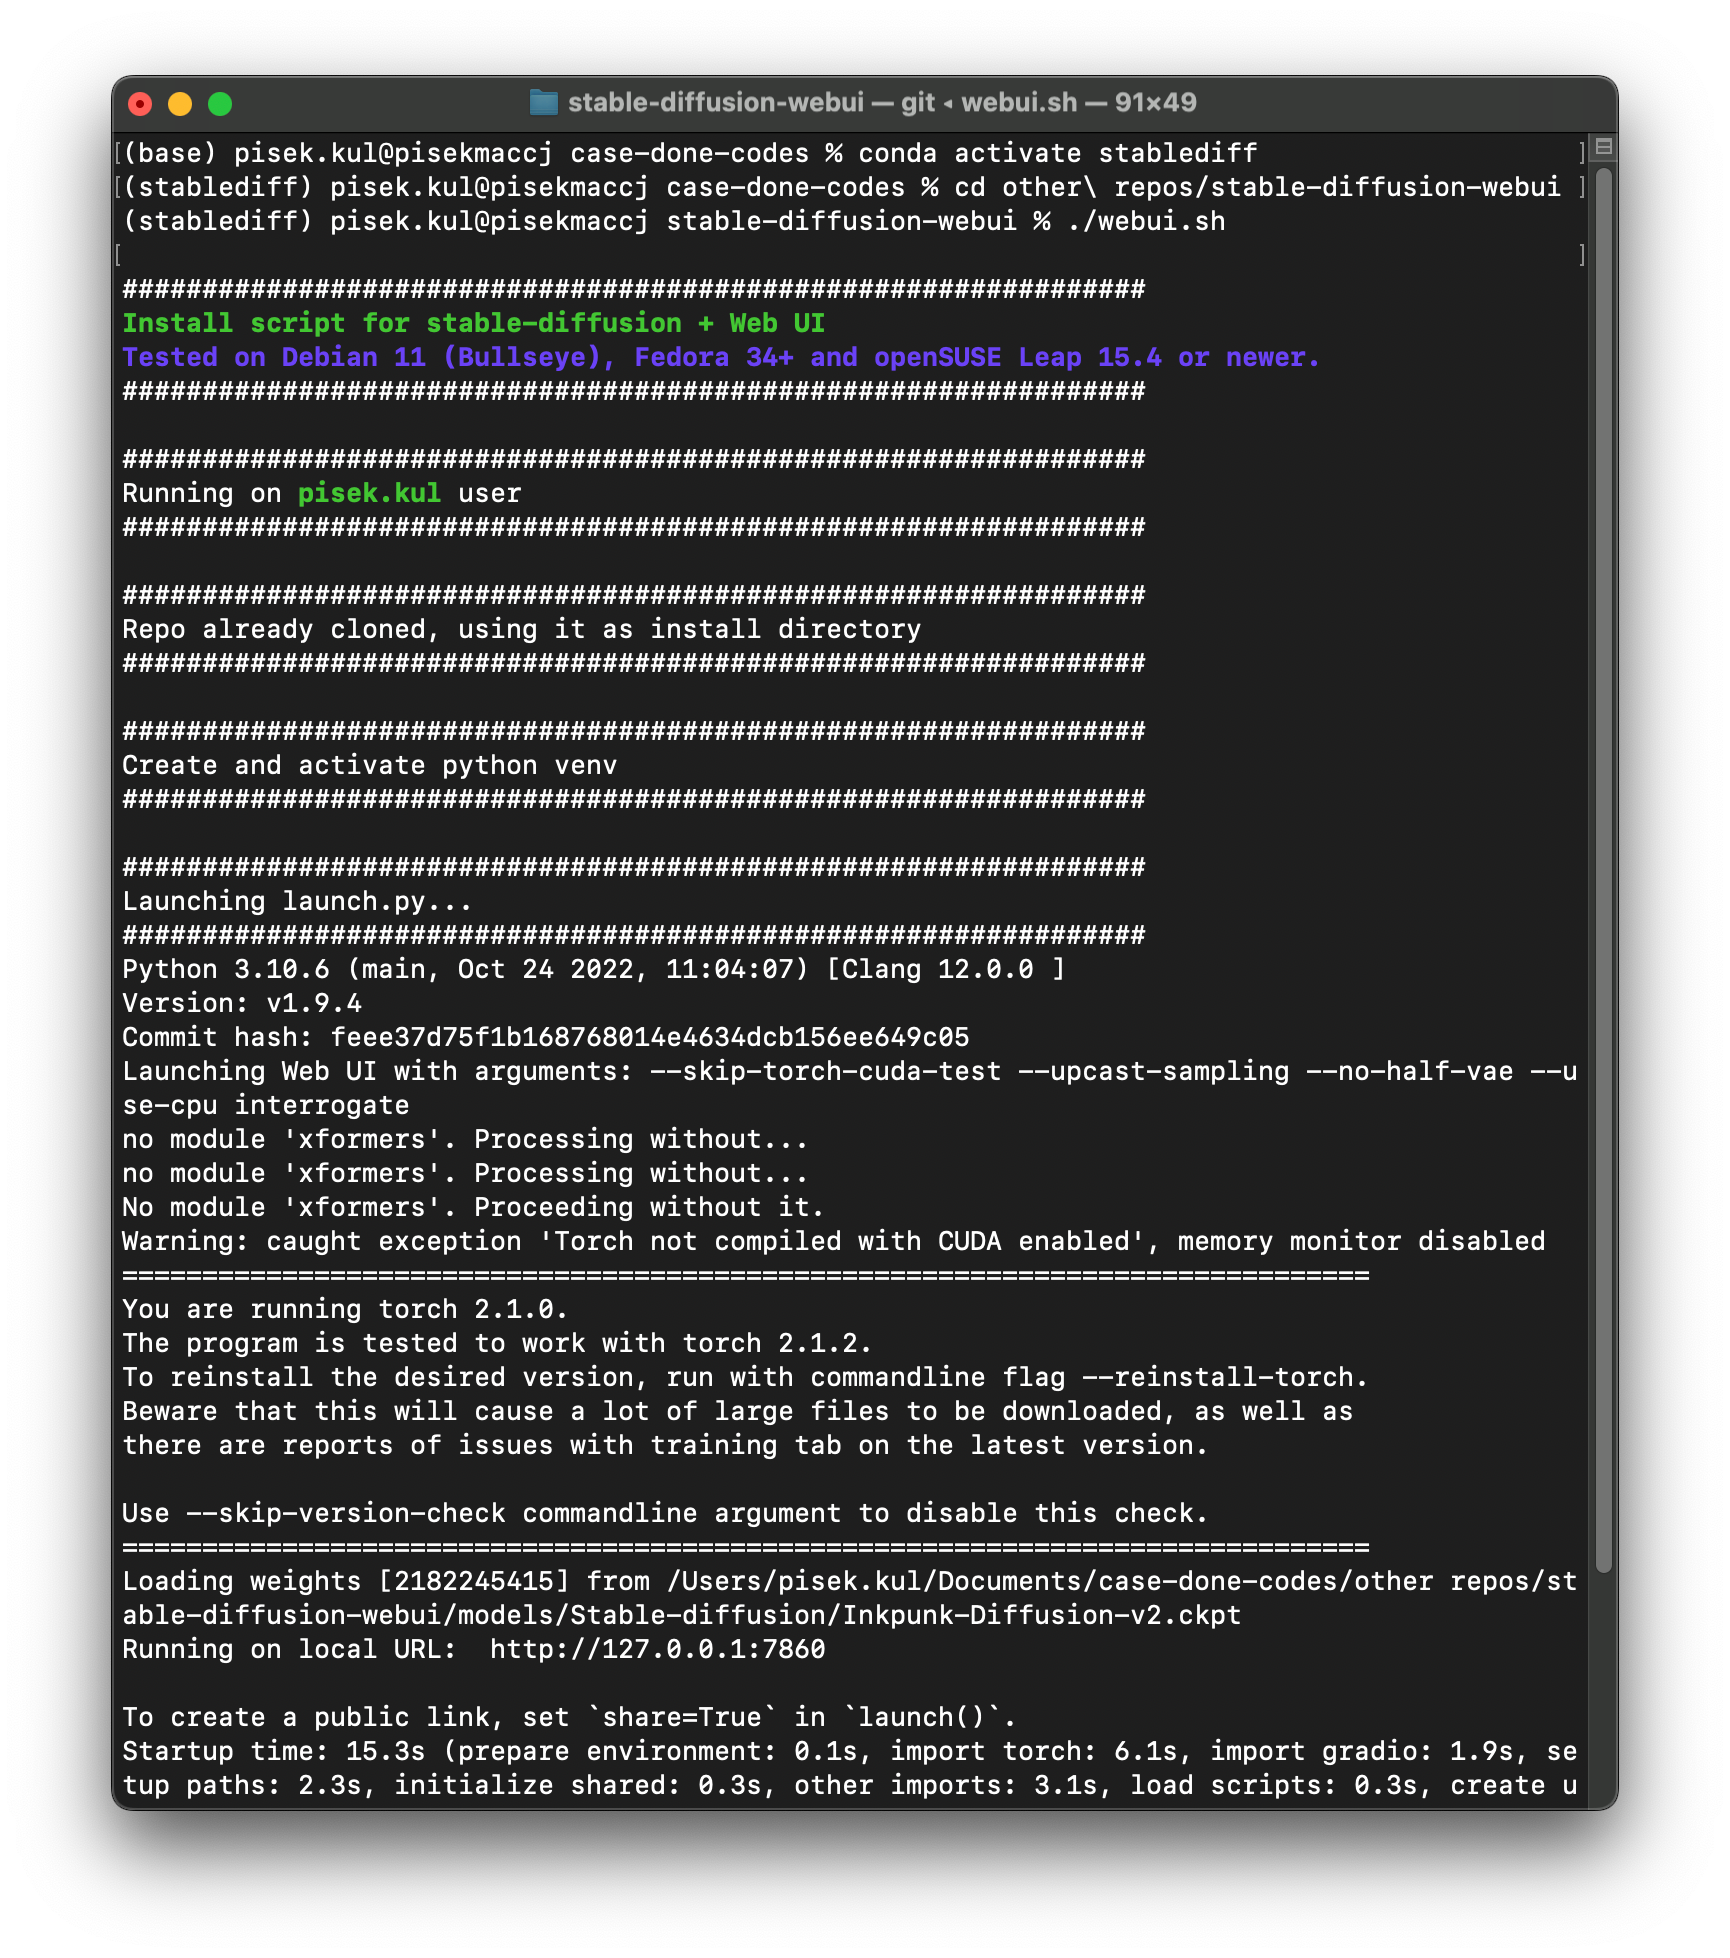
If you encountered errors…
Sometimes people encounter errors when running with ./webui.sh with error notes like skip-torch-cuda-cuda-test or no-half values. I found two ways to solve these.
Edit the file
webui-user.sharound line 10 to be like the following# Commandline arguments for webui.py, for example: export COMMANDLINE_ARGS="--medvram --opt-split-attention" export COMMANDLINE_ARGS="--skip-torch-cuda-test --no-half"Instead of running with
webui.sh, you can run withlaunch.pyand pass in argumentspython launch.py --skip-torch-cuda-test --no-half
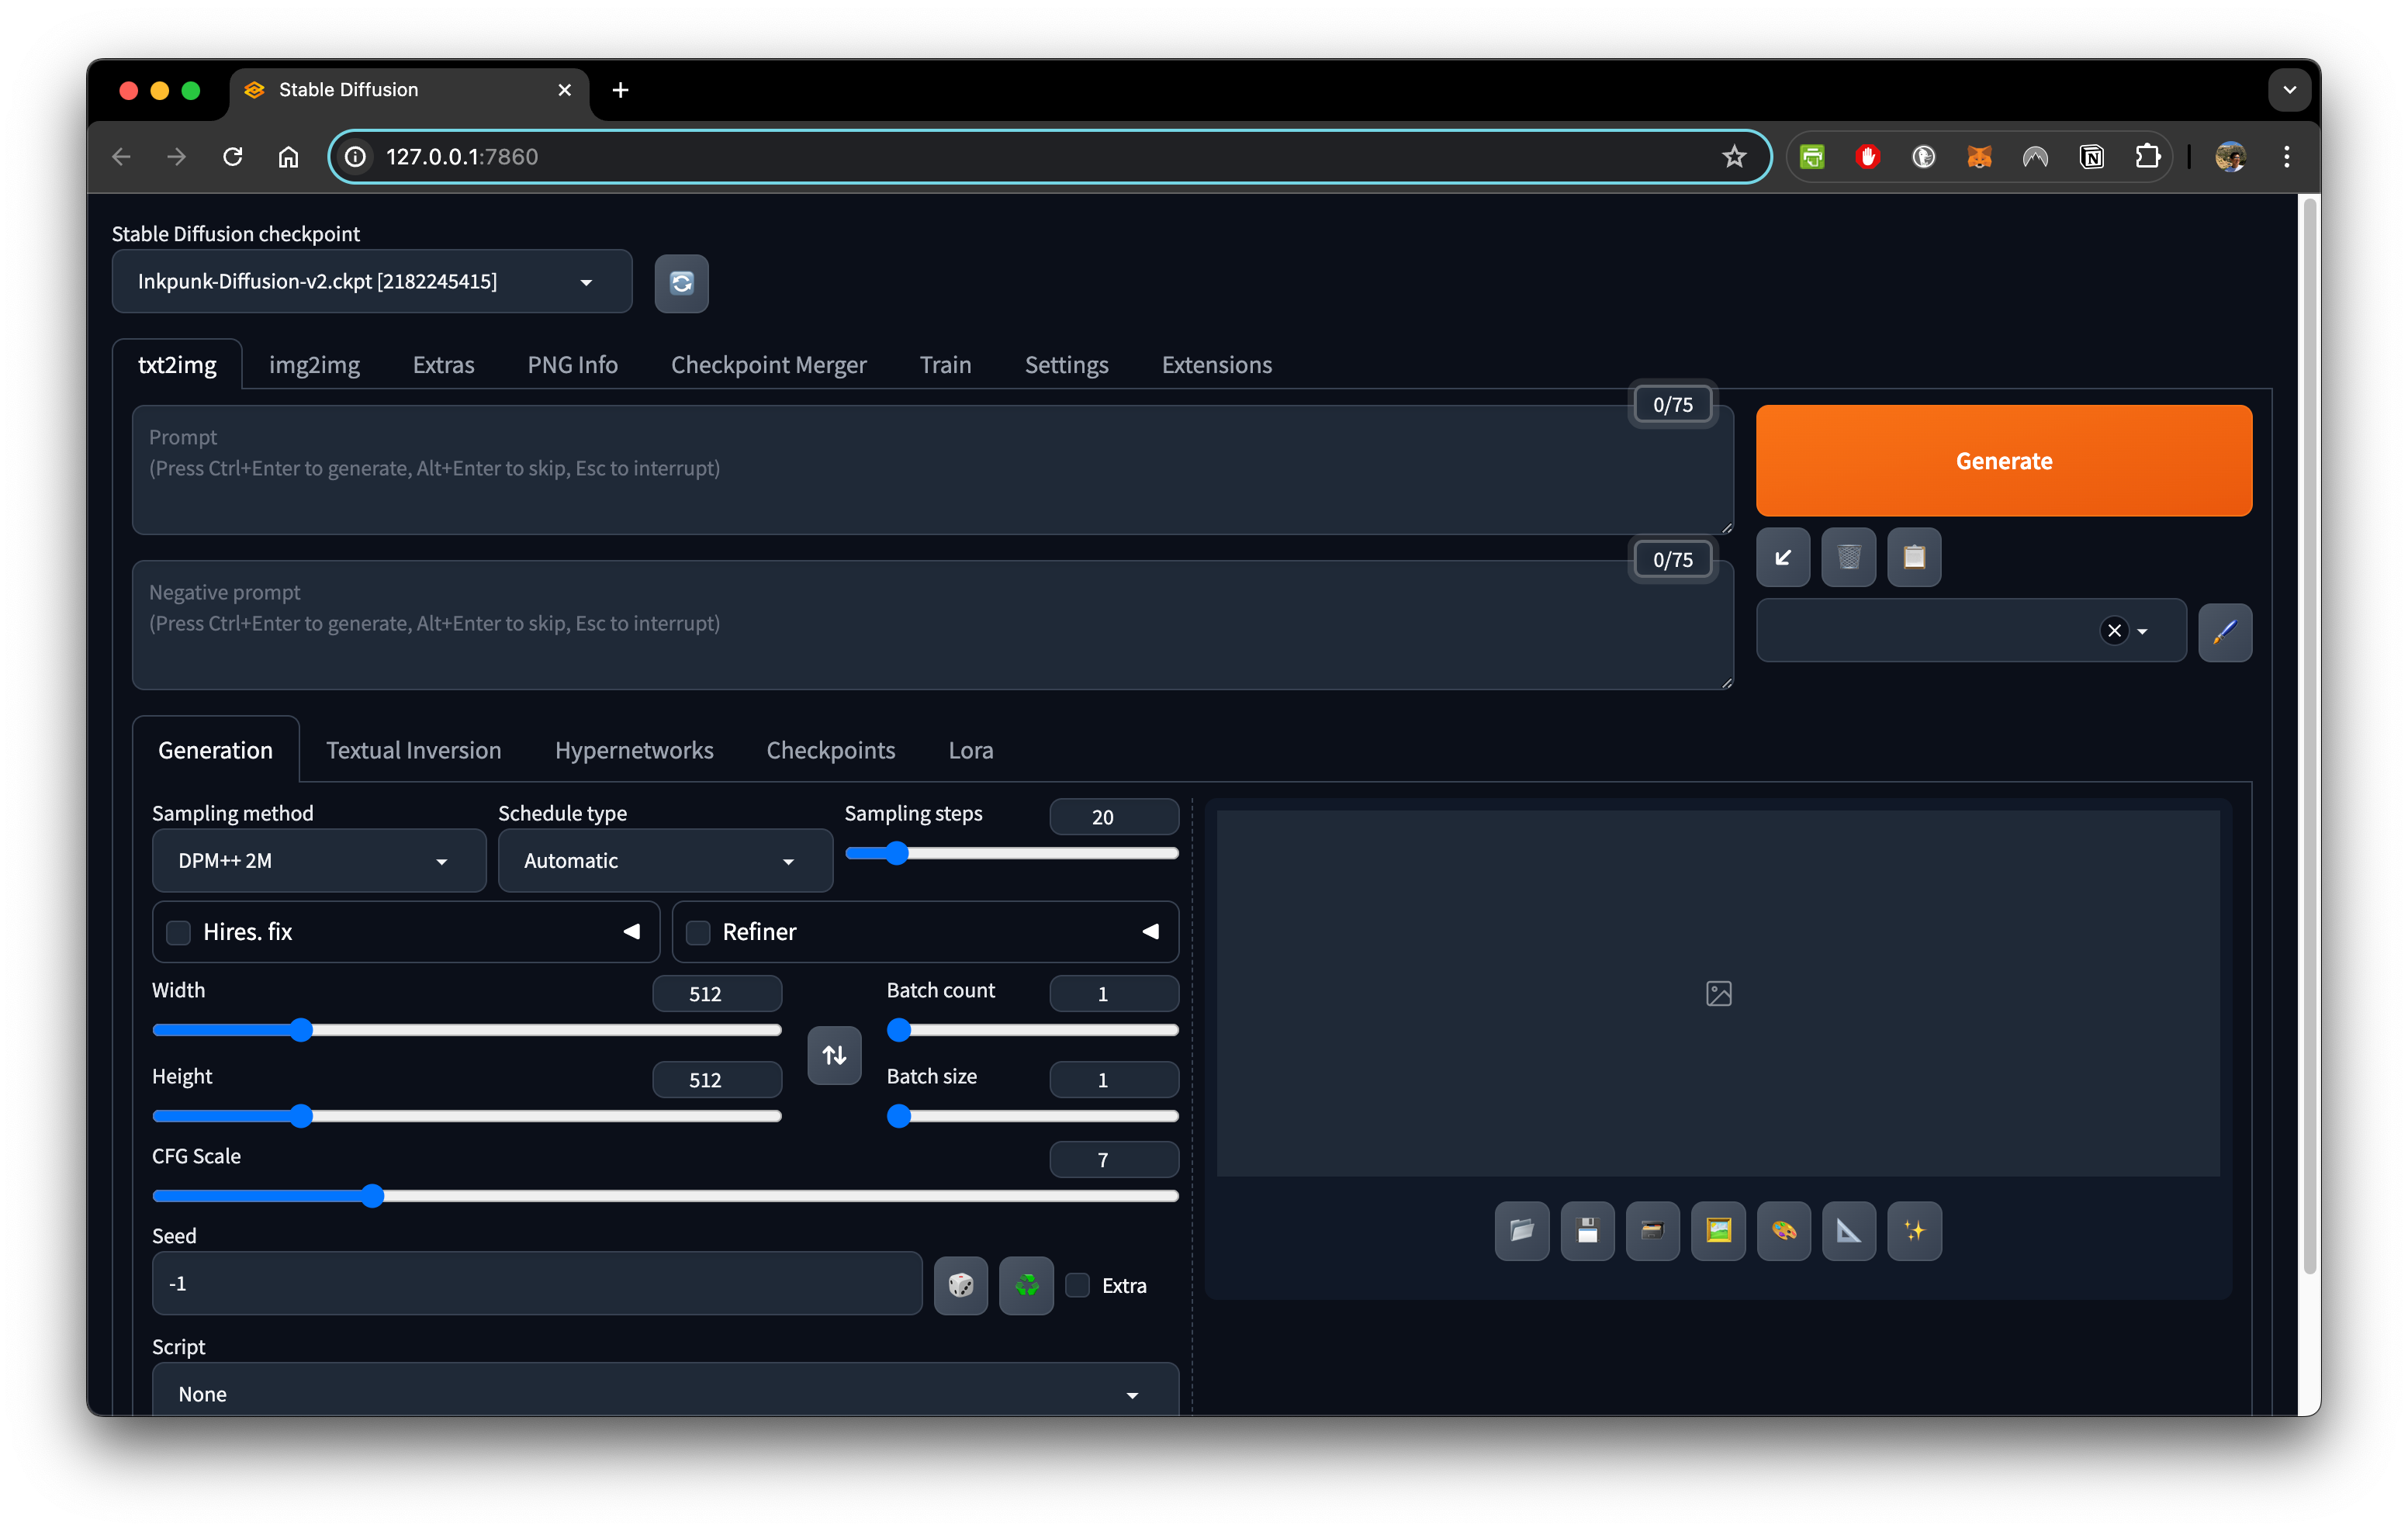
If successful, this window will pop up, likely automatically, or you will need to copy and past the link (likely http://127.0.0.1:7860) to your browser. This is the UI you can now use.
You can explore more models for stable diffusion here stablediffusionapi or stable diffusion art.
Using txt2img
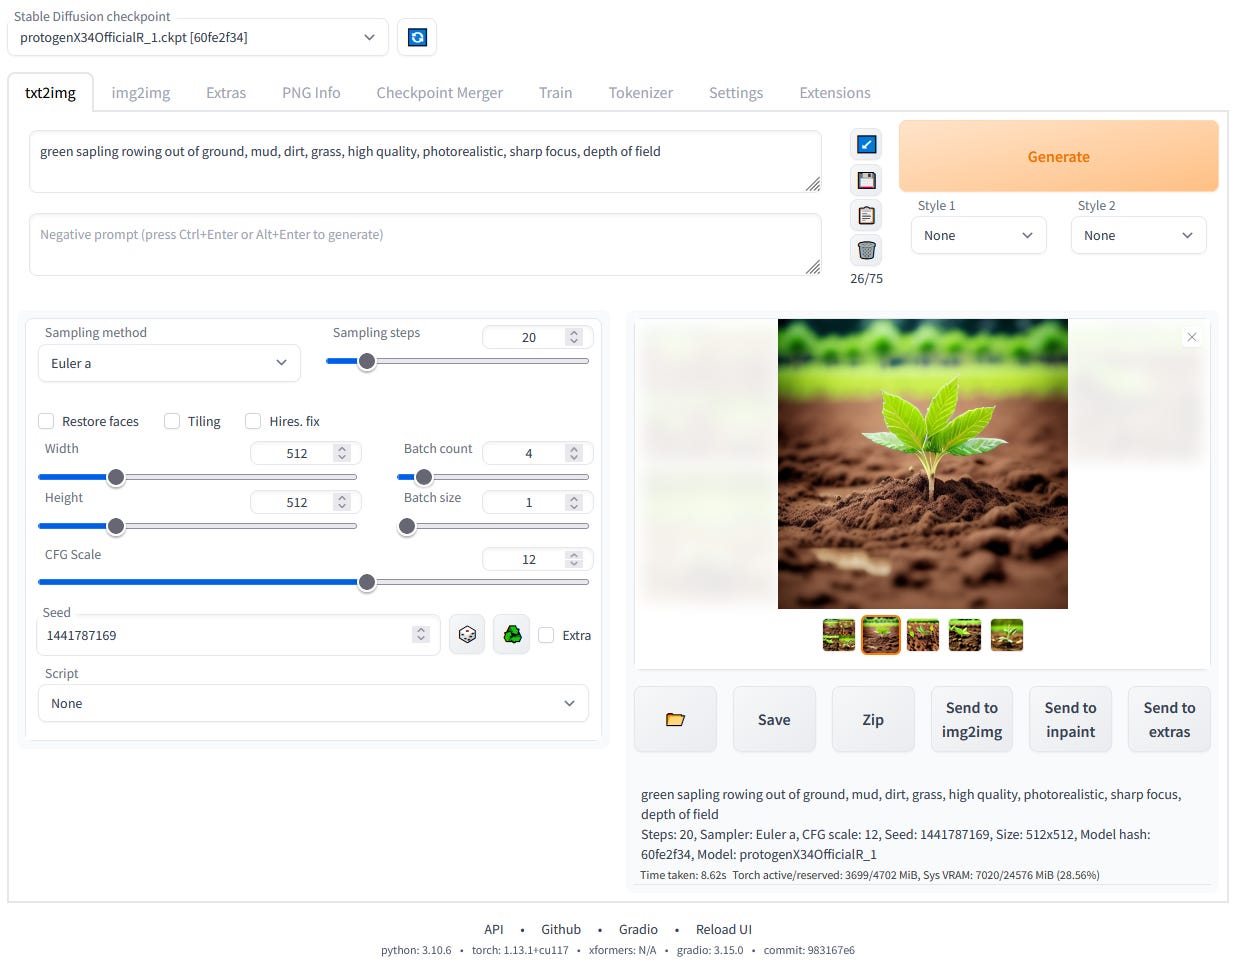
The text-to-image generation task can be done via the `txt2img` tab, clickable near the top kind-of-left corner.
First, you need to choose the model to use; For this one, we choose the stable diffusion 2.1 model: v2-1_768-ema-pruned.ckpt from the dropdown list at the top left corner.
You describe what you want in the positive prompt and negative prompt. Below these boxes, there are tabs that allow you to control other parts of the image generation. Four important controls to start with are the following:
Sampling method. You can experiment, but let’s start with either DPM++2M or Euler. Leave the schedule type to be automatic.
Sampling steps determine how many steps the model removes noise from an image, to yield high quality. Start low, like 8, when you find a direction. When found a good starting point, use higher value, like 20.
Experiment with CFG scale, which controls how much the model follows your instructions.
Size of the generated image. The larger the image, the longer the model needs to compute.
Controls beyond these four are out of the scope of this article; we encourage you to explore more yourself. We might do a video on this later.
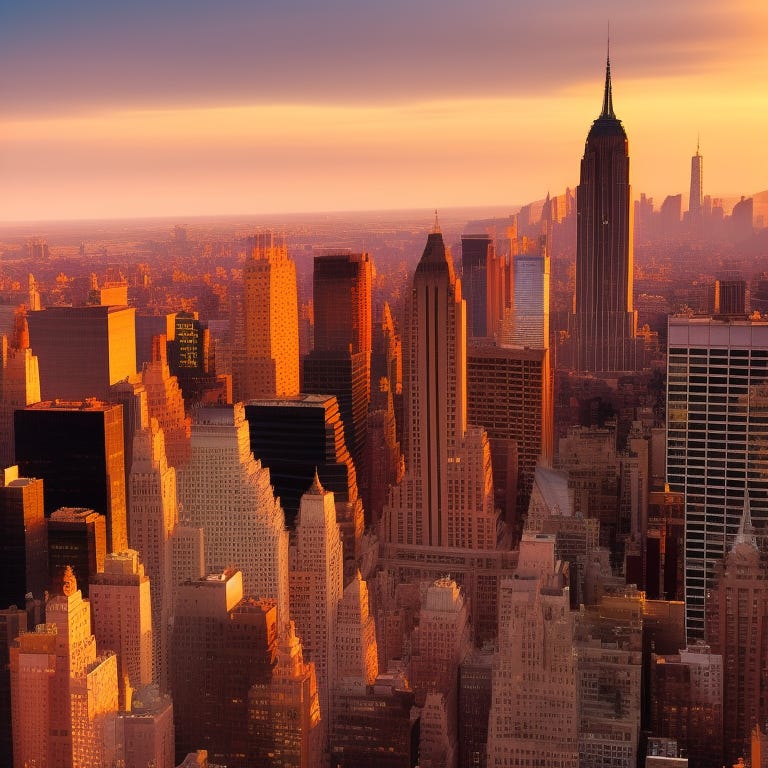
With ‘txt2img’ tab, the following image is generated with stable diffusion 2.1 model.
Prompt: new york city skyline, glittering in yellow sunset light
Negative prompt: watermark
Steps: 20, Sampler: Euler a, Schedule type: Automatic, CFG scale: 7, Seed: 1552253960, Size: 768x768, Model hash: ad2a33c361, Model: v2-1_768-ema-pruned, Version: v1.9.4
Using img2img
Anything v3 and Inkpunk models are image-to-image generation that also accepts a text input. You have to select the ‘img2img’ tab to work in this mode.
The main controls you might start playing with are CFG Scale and Denoising Strength. Denoising strength controls the degree to which the style is applied to the image. The higher the value, the more style is applied.
About Models
Versions of stable diffusion models: SD 1.x, SD 2.x, SDXL, SD 3.x. They work differently because they are constructed and trained differently. Thus, you need to study how these models should be used.
SD 1.x and 2.x need negative prompts. Ideas for negative prompts: bad, watermark, sketch, 3d, monochrome, not detailed, disfigured, blurry, signature.
Stable diffusion models could be considered ‘base' model’ and you can adapt it with other models, like ControlNet, Inkpunk. You can find these models on Hugging Face or Civitia.
Running on Google Cloud Platform
If you need more computing resources (like memory and GPUs), you can use cloud computing platform, such as Google Cloud Platform from Google. AUTOMATIC1111 can be installed and launched for use from the cloud platform as well.
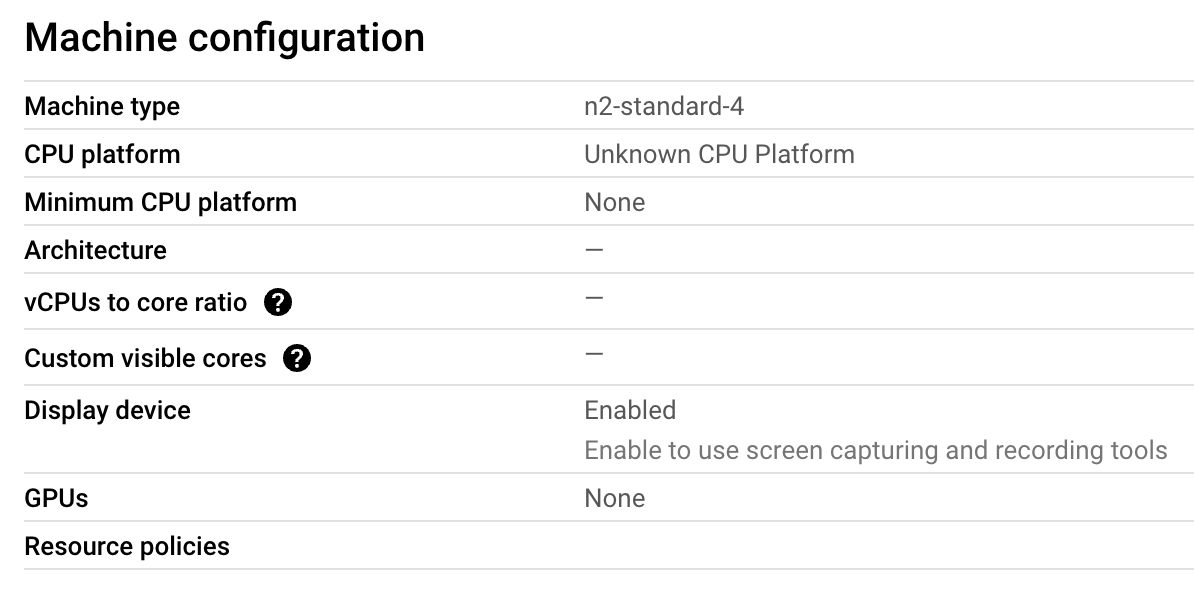
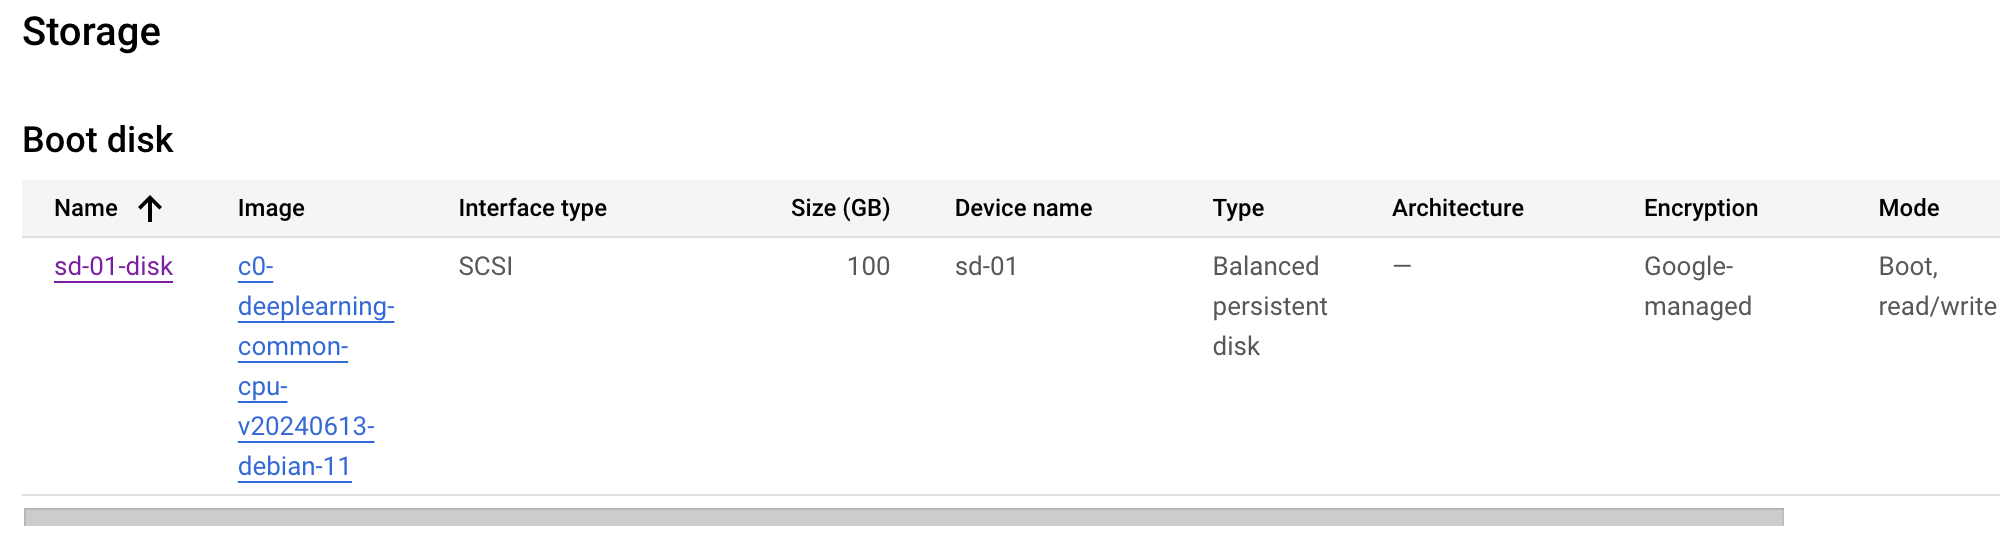
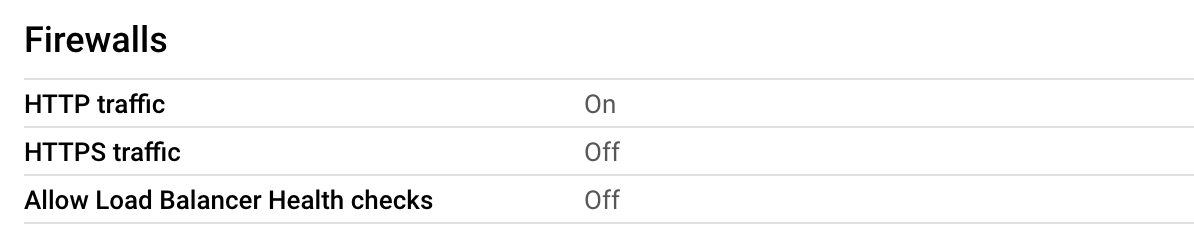
I have done that with GCP and it works. The crucial thing to be is setting up a VM instance in Compute Engine. You pick the machine configuration you would want, specifying CPU, memory, and GPU you need. As an example, we started setting up with n2-standard-4 (4 vCPU and 16 GB vRAM) without GPU. (Later on, when we want to use GPU, we can edit the configuration to use GPU as well). For a boot disk, I select a preset DeepLearning with Debian 11 version, which would provide conda and pip for you to use. In order to display a UI, you need to set firewalls for HTTP traffic to be on.
After setting up, you run the VM via SSH and install AUTOMATIC1111 as we discussed above. Back at the GCP console, you will be assigned an external IP. NOW THIS IS IT: Copy this IP, paste it with http:// (NOT https://) in your chosen browser, and append :7860 to access your UI. For example, if the external IP is 12.34.56.78, you will paste http://12.34.56.78:7860 to a web browser.

Hopefully, this article propels you on a path to explore image generation with stable diffusion. Share with us what you have created as we would love to see your creativity.